Lash artistry is a delicate process that requires precision and skill to achieve beautiful, natural-looking lash extensions.
Mastering proper lash isolation is super important. Without it, your clients may experience discomfort, clumped lashes, or damage to their natural lashes. Lash isolation is the most important part of the appointment.
In this blog post, we will share six tips to help you improve your lash isolation technique and provide clients with the best possible experience.
Why Is Lash Isolation So Important?
Lash isolation refers to separating individual lashes from the neighboring ones. Precise isolation helps to make sure that each natural lash has only one false lash attached to it, creating a seamless and natural look.
Without proper isolation, lashes can:
- Stick together, causing discomfort for clients
- Become clumped and unnatural-looking
- Cause damage to the natural lashes due to multiple extensions being attached to one lash follicle
Learning proper isolation techniques can significantly reduce application time, as you won't have to spend extra time fixing mistakes or separating stuck-together lashes.
Tip #1: Use the Right Tools
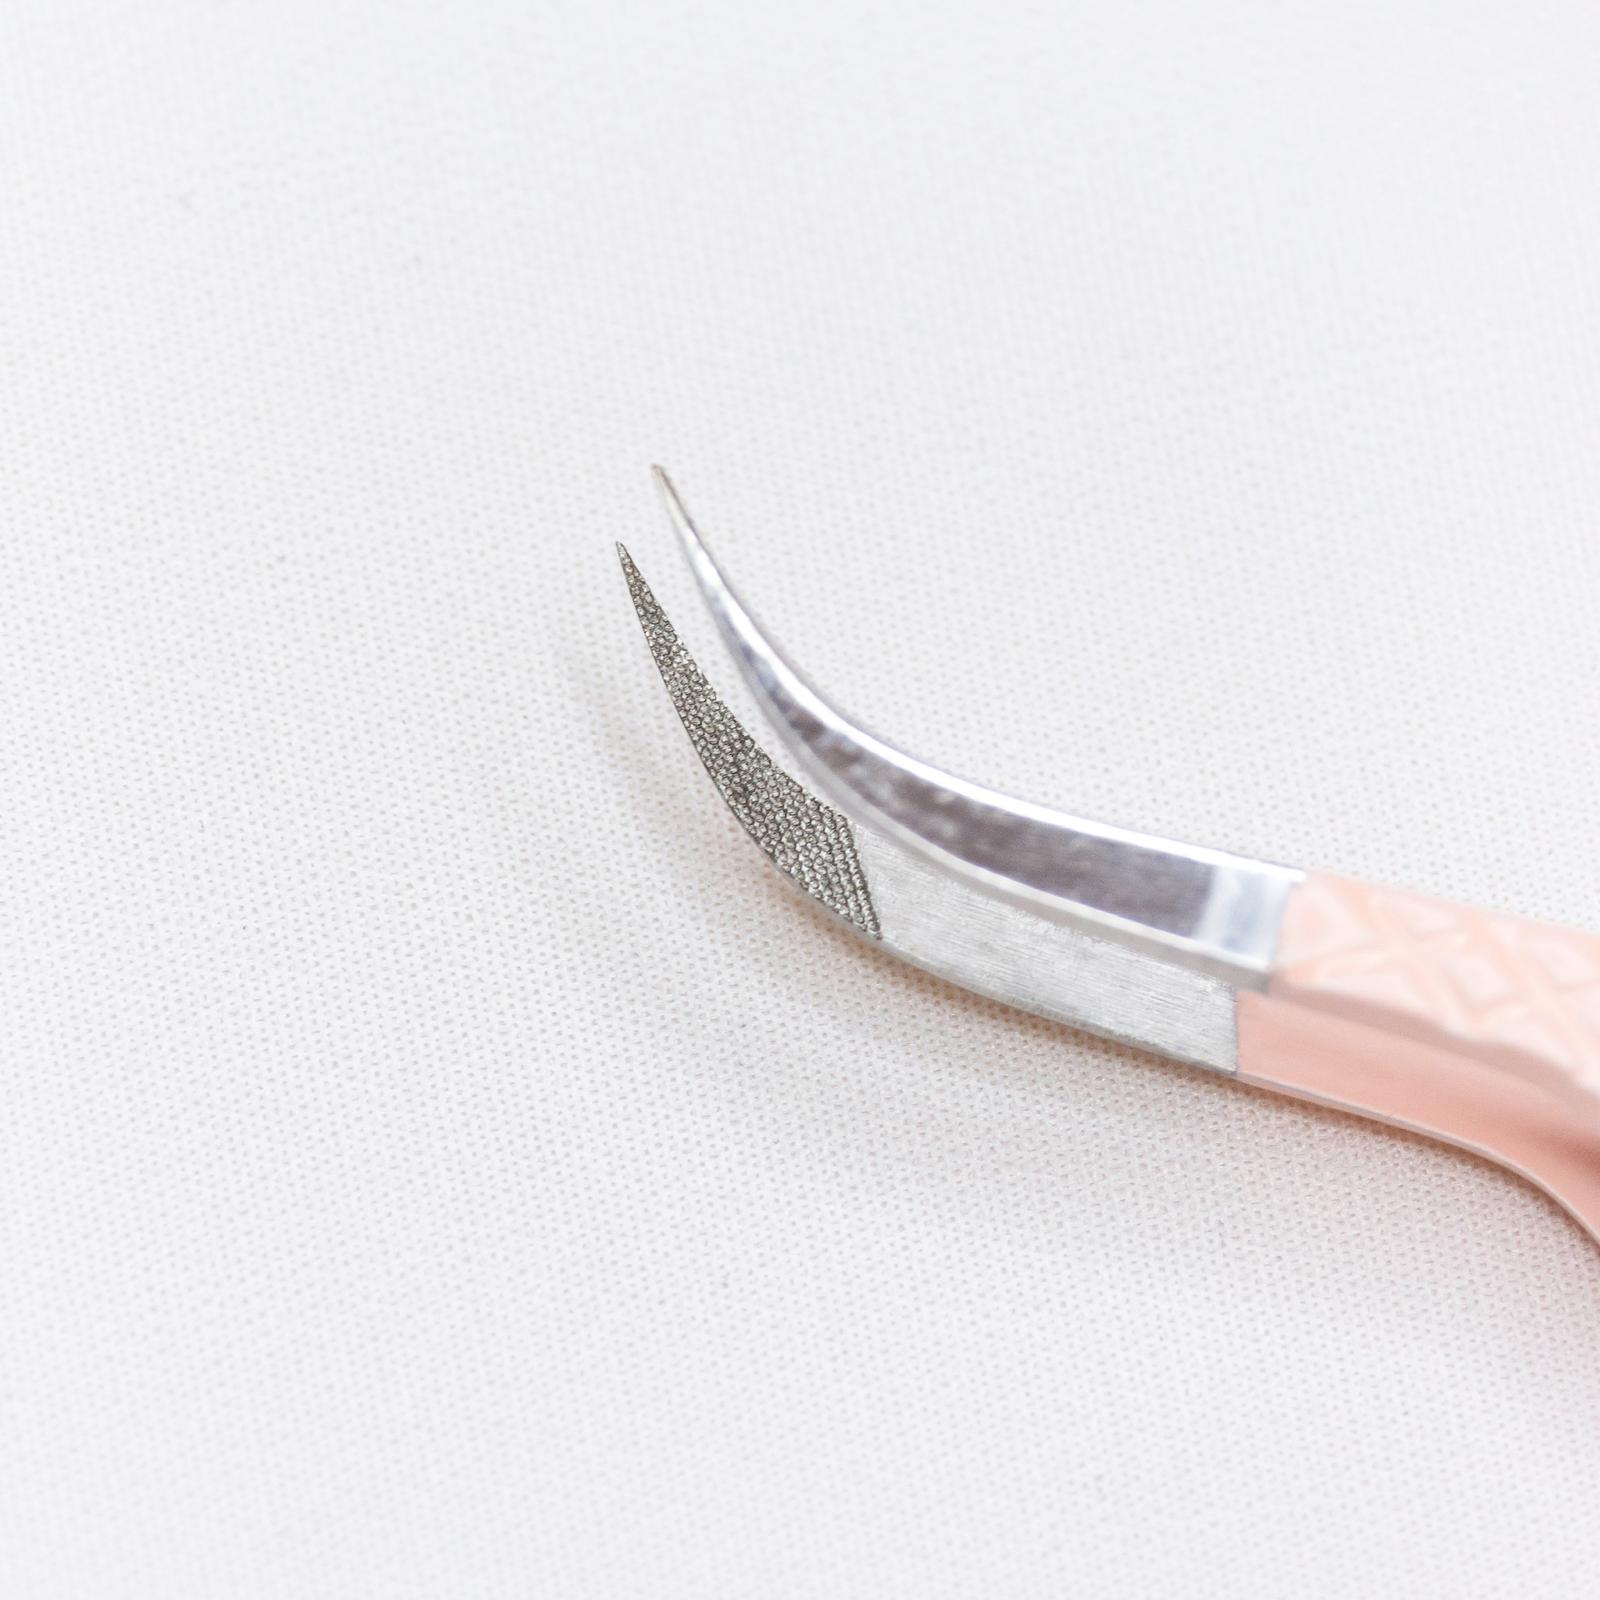
The right tools make all the difference! Invest in a good pair of isolation tweezers and make sure they are properly sterilized before each use.
The two main types of lash tweezers used for isolation are straight and curved. Both have advantages, so experiment with both to find which one works best for you.
🌟 Check out our Lash Extension Tweezer Guide for a more in-depth discussion of the different types of lash tweezers, how to use them, and how to care for them.
Tip #2: Practice Practice Practice
Perfect isolation requires precise and clean movements to attach only one false lash to each natural lash. Practice holding isolation tweezers at different angles until you find what works best.
Be patient with yourself and keep practicing - remember, practice makes perfect!
🌟 Try out the Moon Curved Metallic Fiber Tweezer, our favourite for isolation!
Tip #3: Make Use of Tape
Tape is your best friend when it comes to isolating lashes! Here are a few different ways you can use it to help you isolate lashes:
- Inner corners: Use a small piece of tape to pull the inner corner of the eyelid outwards and expose the baby lashes for easier isolation.
- Outer corners: For lashes too close to the outer corner of the eye, apply a piece of tape over the lid and pull it outwards to provide more space for isolation.
- Tape-back method: Use tape to lift the top layer lashes up and out of the way, exposing the bottom layer for easier access. Check out this how-to video on Instagram for a visual aid.
🌟 We recommend using our Green Lash Tape for isolation. It's easy to remove and won't leave sticky residue on the lashes or skin.
Tip #4: Consider the Growth Cycle
Each natural lash has its own growth cycle, and it's essential to consider this when isolating. Baby lashes or new growth may be more challenging to isolate, so take your time and use a gentle touch to avoid pulling them out.
Pro Tip 🌟
If you have a hard time isolating baby lashes that grow inward, apply a short, fine (0.03-0.05mm) extension with minimal glue. It will be much easier to isolate! You can either pop it off now or remove it at the fill appointment.
Tip #5: Check for Stickies
Watch out for the dreaded lash stickies! Stickies happen when multiple natural lashes get glued together, creating a clump that is uncomfortable and damaging to the natural lashes.
Use your tweezers to check throughout the application process and again at the end before you apply Superbonder or nano mist the lashes.
Tip #6: Don't Be Afraid to Ask for Help
Lash isolation is a skill that takes time and practice to master, and there's no shame in asking for help wherever you are on your journey.
🌟 If you are struggling with perfect isolation, our mentorship program is just for you! With the support of our experienced lash educator, Jazmine, you can improve your isolation technique and become a confident and skilled lash artist.
Eyelash Extension Course in Calgary, AB
By following these tips, you can improve efficiency, provide better service to clients, and preserve the integrity of natural lashes. Practice, patience, and the right tools are key to achieving excellence.
Are you ready to elevate your lash artistry? Browse our products for the best in lash supplies, tools, and lash education.
Whether you want to refine your skills or learn new techniques, Lashin' Out Academy is designed to support your journey toward becoming a skilled lash expert. Join our community today and unlock your full potential as a lash artist! 💗
FAQ
What is lash isolation?
Lash isolation is the process of using isolation tweezers to separate and attach a single false lash extension to one natural lash, creating a seamless and natural look.
What hand do you isolate lashes with?
Most lash artists will use their less dominant hand with the isolation tweezers, but you can use either. Experiment with both hands to find which one works best for you.
How to isolate small lashes?
Try using different lash taping methods to make fine lashes more accessible. Practice and patience are crucial for isolating small lashes successfully.


